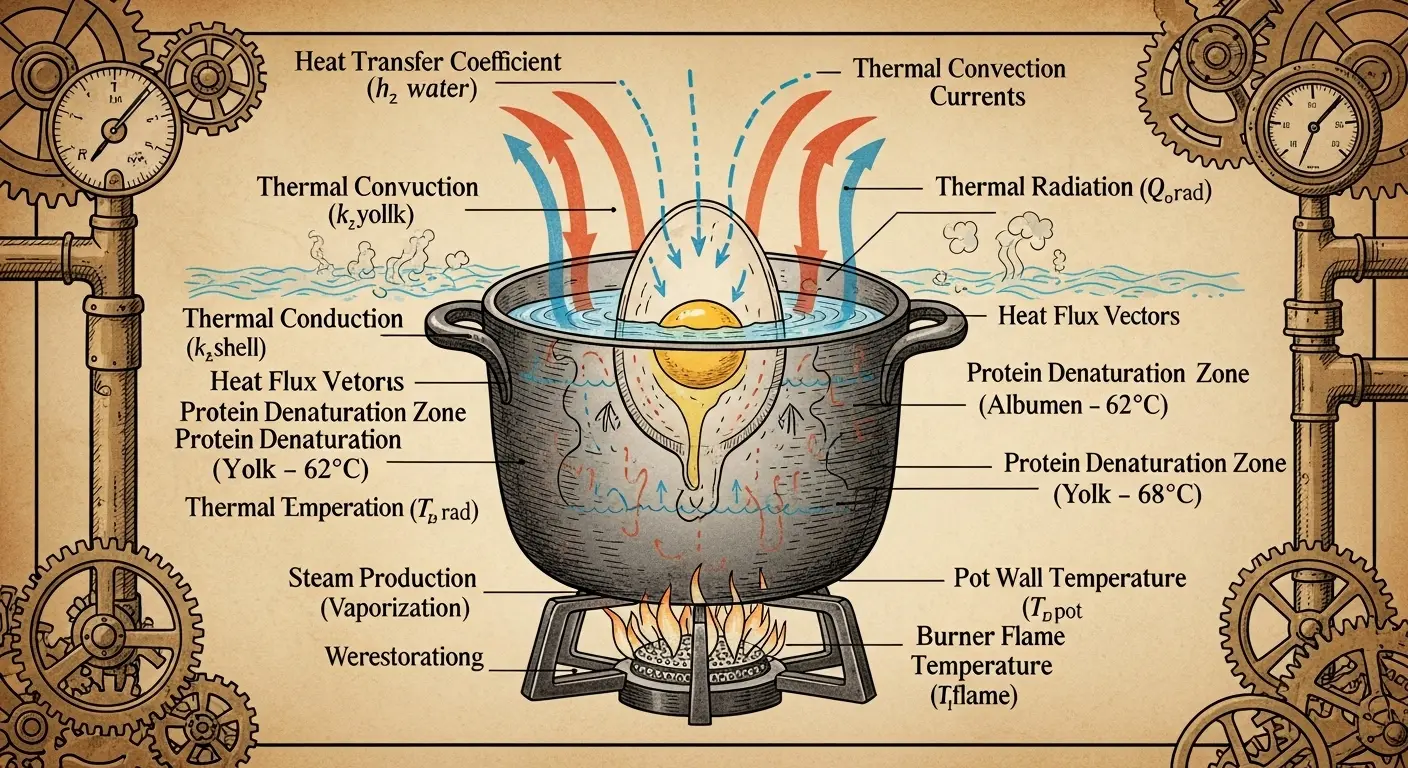
An Introduction to Ovoid Thermal Preparation
I have observed your species for some time, and I must confess, your approach to culinary science is bafflingly imprecise. You “eyeball” measurements. You “taste-test.” You operate on folkloric wisdom passed down through generations of equally unscientific cooks. Nowhere is this more apparent than in the seemingly simple, yet profoundly complex, process of how to boil an egg.
You place an ovoid from a Gallus gallus domesticus into heated water and hope for the best. This is not science; it is chaos. It is a gamble with protein denaturation. Today, we correct this historical oversight. We will not merely cook an egg. We will execute a controlled thermal procedure to achieve a predictable, repeatable, and structurally sound outcome.
Phase 1: Pre-Operational Calibration and Subject Selection
Before any thermal energy is applied, rigorous preparation is paramount. Failure to control variables at this stage will result in catastrophic failure—or what you might call “a slightly runny yolk.”
- Subject Acquisition: Select a Grade AA specimen. Weigh it to the nearest hundredth of a gram. Using a laser micrometer, measure its circumference and height to calculate its precise volume and surface area. Document the shell’s porosity via a light candling test. Any micro-fractures are grounds for immediate disqualification.
- Aqueous Medium Preparation: Do not use “tap water.” This is an uncontrolled variable containing unknown mineral solutes. Begin with distilled, deionized H₂O. We must then calibrate the water’s mineral content by adding 0.2 grams of sodium chloride and 0.05 grams of calcium carbonate per liter to optimize thermal conductivity and prevent shell integrity loss via osmosis.
- Atmospheric Considerations: Measure the current barometric pressure. This will affect the boiling point of your aqueous medium. Adjust your target temperature accordingly. For every 1 kPa below standard sea-level pressure (101.325 kPa), increase your target soak time by 0.8%.
Phase 2: Thermal Energy Application and Coefficient Calculation
This is the primary execution phase. Precision is not optional.
1. Gently lower the calibrated ovoid into the prepared medium using a soft-silicone retrieval cradle. The sudden change in momentum from dropping it can compromise the shell’s tensile strength.
2. Initiate a controlled thermal ramp. A rate of 1.5°C per minute is ideal for preventing thermal shock. Your goal is a gentle, rolling boil, not a turbulent, chaotic one.
3. As the temperature rises, you must calculate the precise heat transfer coefficient of the eggshell. This is critical for predicting the rate of protein denaturation. The simplified formula is: h = (k * Nu) / D Where k is the thermal conductivity of the water, Nu is the Nusselt number (determined by the fluid dynamics of your boil), and D is the characteristic length (the egg’s diameter). Do not forget to account for the specific heat capacity of both the albumen and the vitellus, which differ significantly.

4. For a firm yolk (complete vitellus protein coagulation), the core temperature must reach 77°C. Based on your calculations, this should take approximately 11 minutes and 34 seconds in a standard environment. Monitor this with a non-invasive infrared temperature sensor aimed at the egg’s geometric center.
Phase 3: Controlled Cooling and Post-Boil Structural Analysis
The procedure is not complete once the heat is removed. The cooling phase is just as critical.
1. Immediately transfer the specimen to a 2°C ice bath. This thermal shock halts the cooking process instantly and causes the egg’s interior to contract, simplifying the shell removal process later.
2. After cooling for a minimum of 15 minutes, perform a post-boil structural integrity analysis. Gently tap the shell at equidistant points along its equator with a calibrated 5-gram steel rod. Listen to the acoustic response. A dull, low-frequency thud indicates a successful, uniform coagulation. A high-pitched or hollow sound may indicate internal steam pockets—a sign of a flawed thermal ramp.
Only after the subject has passed this final analysis may you proceed with consumption. You have not just boiled an egg. You have conquered it. You have imposed order on a chaotic universe, one breakfast at a time. It is a monumental effort for a trivial meal, which strikes me as a perfectly human thing to do.
