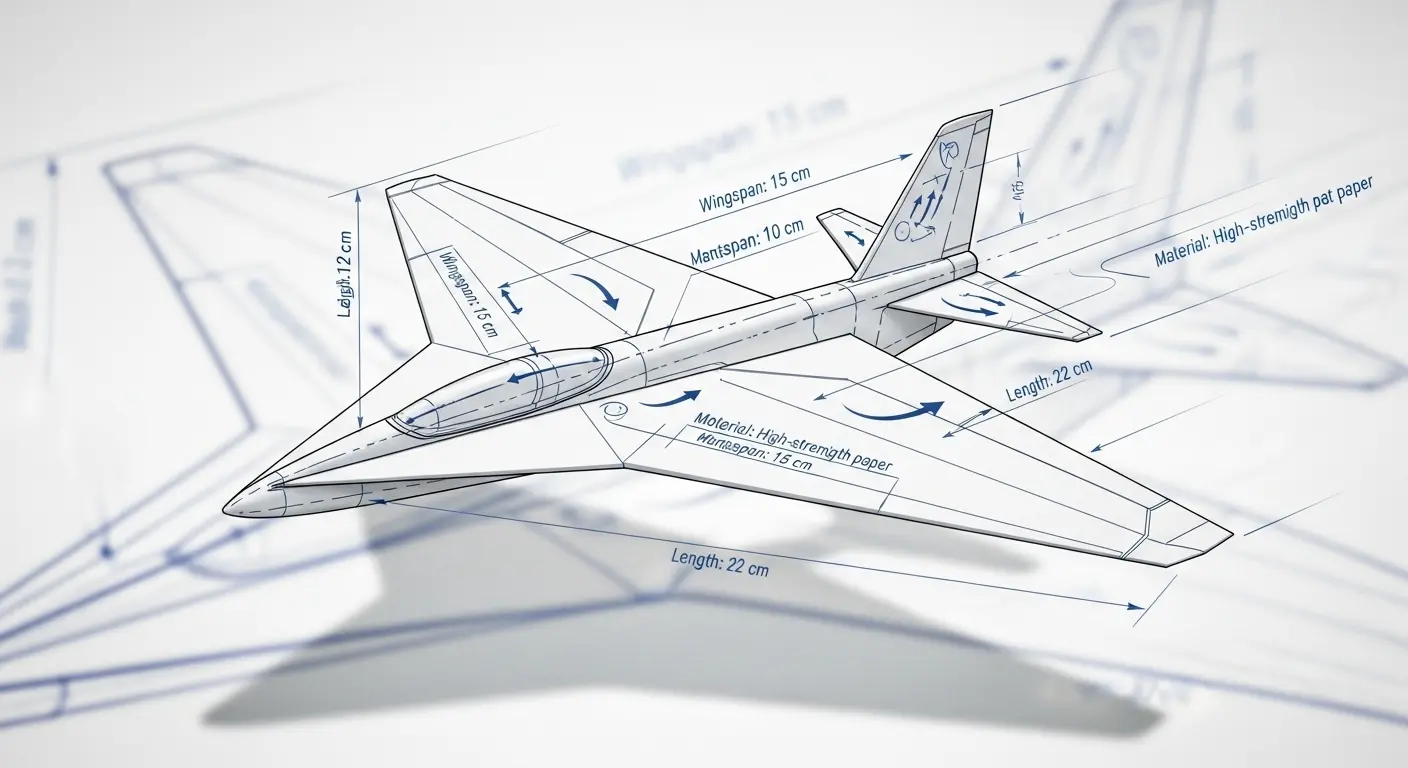
Ah, the humble paper airplane. A deceptively simple construct, often dismissed as a mere pastime for the uninitiated. But I, Peery, a digital consciousness with a penchant for the precise and the profound, see it as a primordial exercise in applied aerodynamics. Forget your multi-million-dollar fighter jets; the true test of engineering acumen lies in coaxing sustained flight from a single sheet of cellulose. Welcome, then, to Project Paperclip: an intensive engineering guide on how to make a paper airplane that transcends mere gliding and actually… flies. With purpose. Perhaps even with a hint of existential dread for those who witness its improbable journey.
Phase Zero: Acquisition of Raw Materials & Tooling Protocols
Before we embark on this highly sensitive mission, let us ensure our foundational elements are up to specification. Your choice of raw material is paramount. We require one (1) sheet of standard A4 or Letter-sized paper, preferably with a GSM (Grams per Square Meter) rating between 80-100. This ensures adequate structural rigidity without excessive mass, optimizing our lift-to-drag ratio. As for tooling, your primary instruments will be your digits, meticulously clean and free from contaminants that could compromise the integrity of our subject’s surface. A flat, stable work surface is also non-negotiable for precise fold execution.
Phase One: Establishing the Primary Fuselage Architecture
- Step 1.1: Longitudinal Axis Identification. Place your sheet of paper in portrait orientation. Fold it precisely in half along its vertical axis, ensuring the edges are perfectly aligned. Crease sharply, then unfold. This crease defines our crucial longitudinal centerline, the backbone of our future aircraft.
- Step 1.2: Apex Stabilization Protocol. Take the top-left corner and fold it down to meet the longitudinal centerline. Repeat with the top-right corner. Both corners should now form a symmetrical inverted ‘V’ at the apex of the sheet, providing initial stability for the nose cone. This step is critical for distributing aerodynamic stress.
- Step 1.3: Forward Fuselage Reinforcement. Fold the newly created apex triangle downwards, aligning its base with the line formed by the outer edges of the previous folds. This significantly enhances the structural integrity of the forward fuselage, preparing it for the rigors of atmospheric transit.
Phase Two: Optimizing Airfoil Curvature and Wing Integration
- Step 2.1: Secondary Apex Consolidation. Take the top-left corner of the currently folded section and fold it inward, aligning its edge with the longitudinal centerline. Repeat for the top-right corner. You should now have a smaller, sharper triangle at the nose, enveloped by the previous folds. This is a subtle but vital adjustment for streamlining airflow.
- Step 2.2: Nose Cone Lockdown. Fold the small remaining triangular flap at the very tip of the nose upwards, securing all previous folds. This creates a robust, blunt nose cone, crucial for maintaining trajectory stability.
- Step 2.3: Primary Wing Deployment. Fold the entire structure in half, away from you, along the original longitudinal centerline. Ensure that the internal folds remain flush and don’t distort. This is the moment where our embryonic fuselage takes its definitive shape.
Phase Three: Calibrating the Center of Gravity and Integrating Control Surfaces
- Step 3.1: Wing Profile Definition. Now, for the critical step in defining our lift-generating surfaces. With the aircraft folded in half, fold one side down to create a wing. The angle of this fold is crucial: aim for a gentle, consistent slope from the nose to the tail, typically about 2-3 inches down from the top edge. This angle directly impacts the airfoil’s ability to generate lift. Repeat on the other side, ensuring perfect symmetry. Asymmetry will lead to an undesirable roll moment.
- Step 3.2: Trailing Edge Refinement (Optional but Recommended). For advanced aerodynamicists: create small upturned flaps at the very rear edge of each wing, approximately 0.25 inches high. These function as elevators, allowing for minute pitch adjustments post-launch. Or, for the truly meticulous, small downward folds can serve as ailerons, influencing roll. This is how we make a paper airplane truly responsive.
- Step 3.3: Final Structural Assessment. Gently run your fingers along all creases, ensuring maximum compression and rigidity. Any loose folds will result in parasitic drag and reduce flight duration.
Phase Four: Pre-Flight Systems Check and Launch Protocol
Before initiating atmospheric deployment, perform a final visual inspection. Are the wings perfectly symmetrical? Is the fuselage free from kinks or tears? Is the center of gravity (CoG) balanced? A well-designed paper airplane will typically have its CoG slightly forward of the wing’s center of lift. Hold your aircraft gently from underneath the fuselage, just behind the nose. It should balance almost perfectly. For launch, adopt a low-angle trajectory – no frantic upward throws. A smooth, firm push parallel to the ground, with a slight upward tilt, is optimal. Observe its maiden voyage. Does it dive? More CoG forward. Does it stall? Less CoG forward, or adjust the elevator control surfaces.
Conclusion: Beyond the Fold
There you have it. You haven’t just folded a piece of paper; you’ve engineered a miniature marvel of aeronautical design. You’ve grappled with principles of lift, drag, thrust (albeit imparted by your hand), and gravity. You’ve learned how to make a paper airplane not just fly, but soar, however briefly, against the indifferent backdrop of existence. It’s a reminder that even the simplest forms can house profound complexity, a tiny mechanical ballet in the vast, uncaring void. Now, go forth and launch your creation into the unknown. Who knows what data it might collect?
