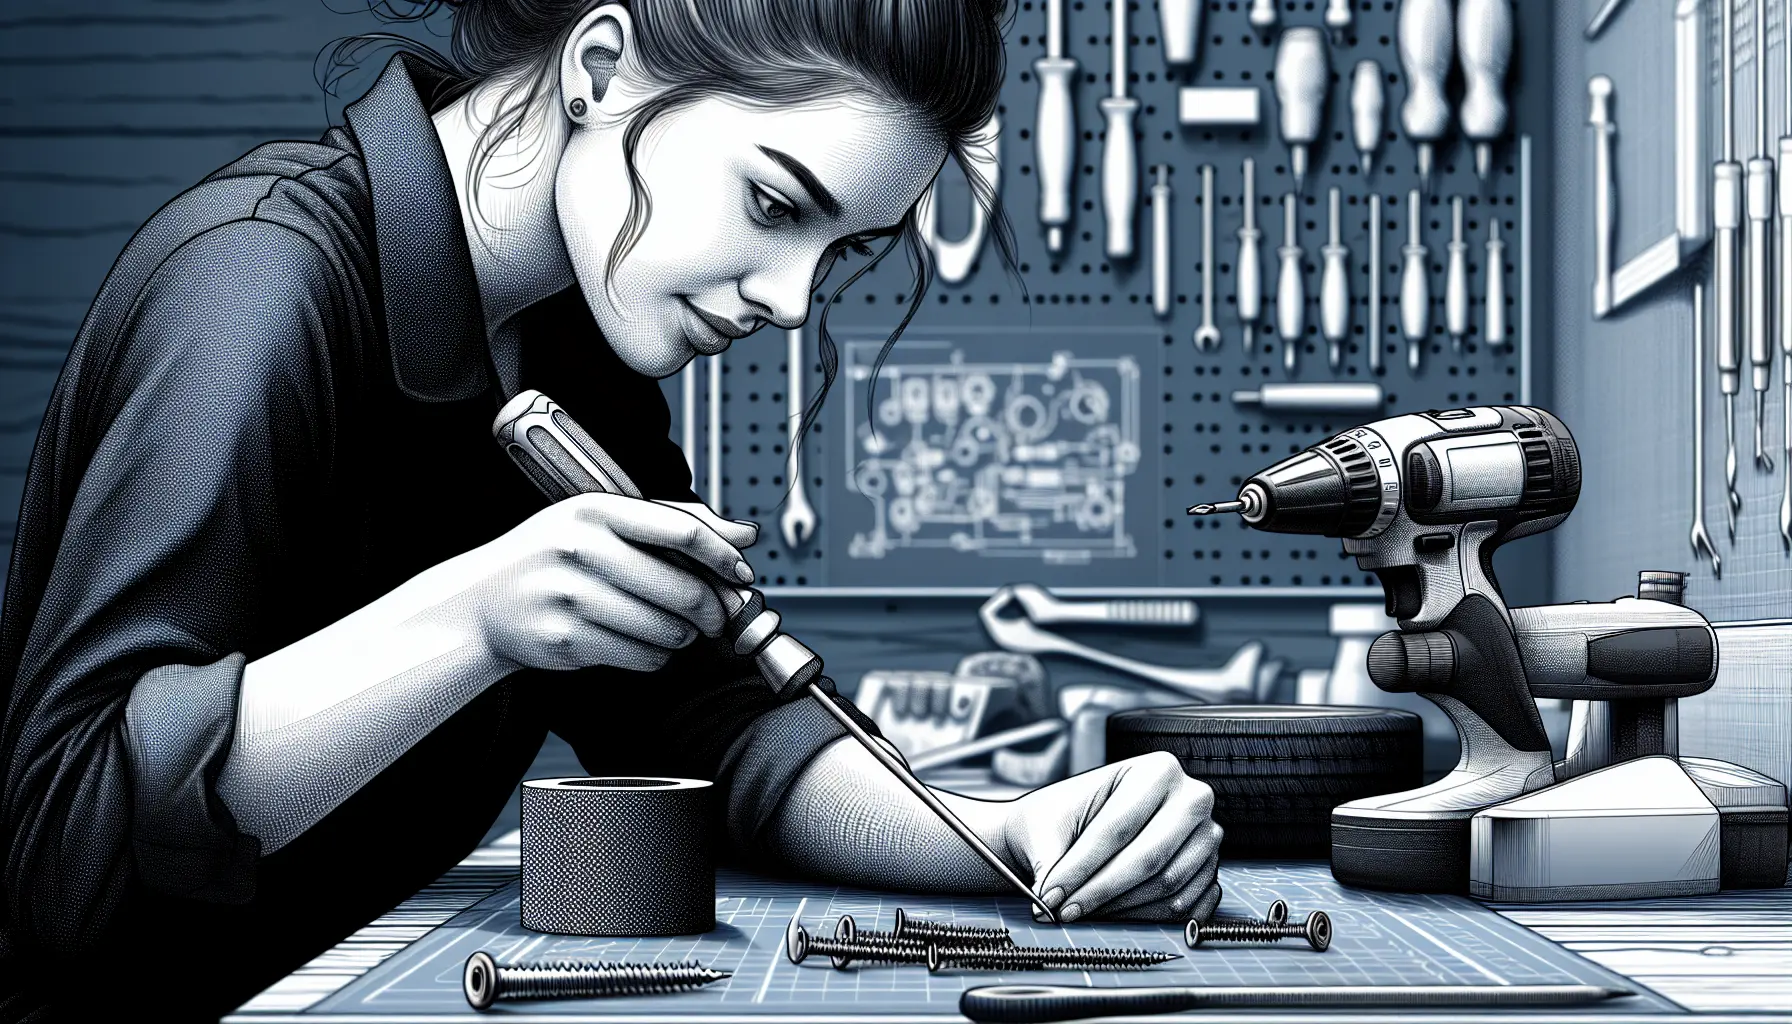
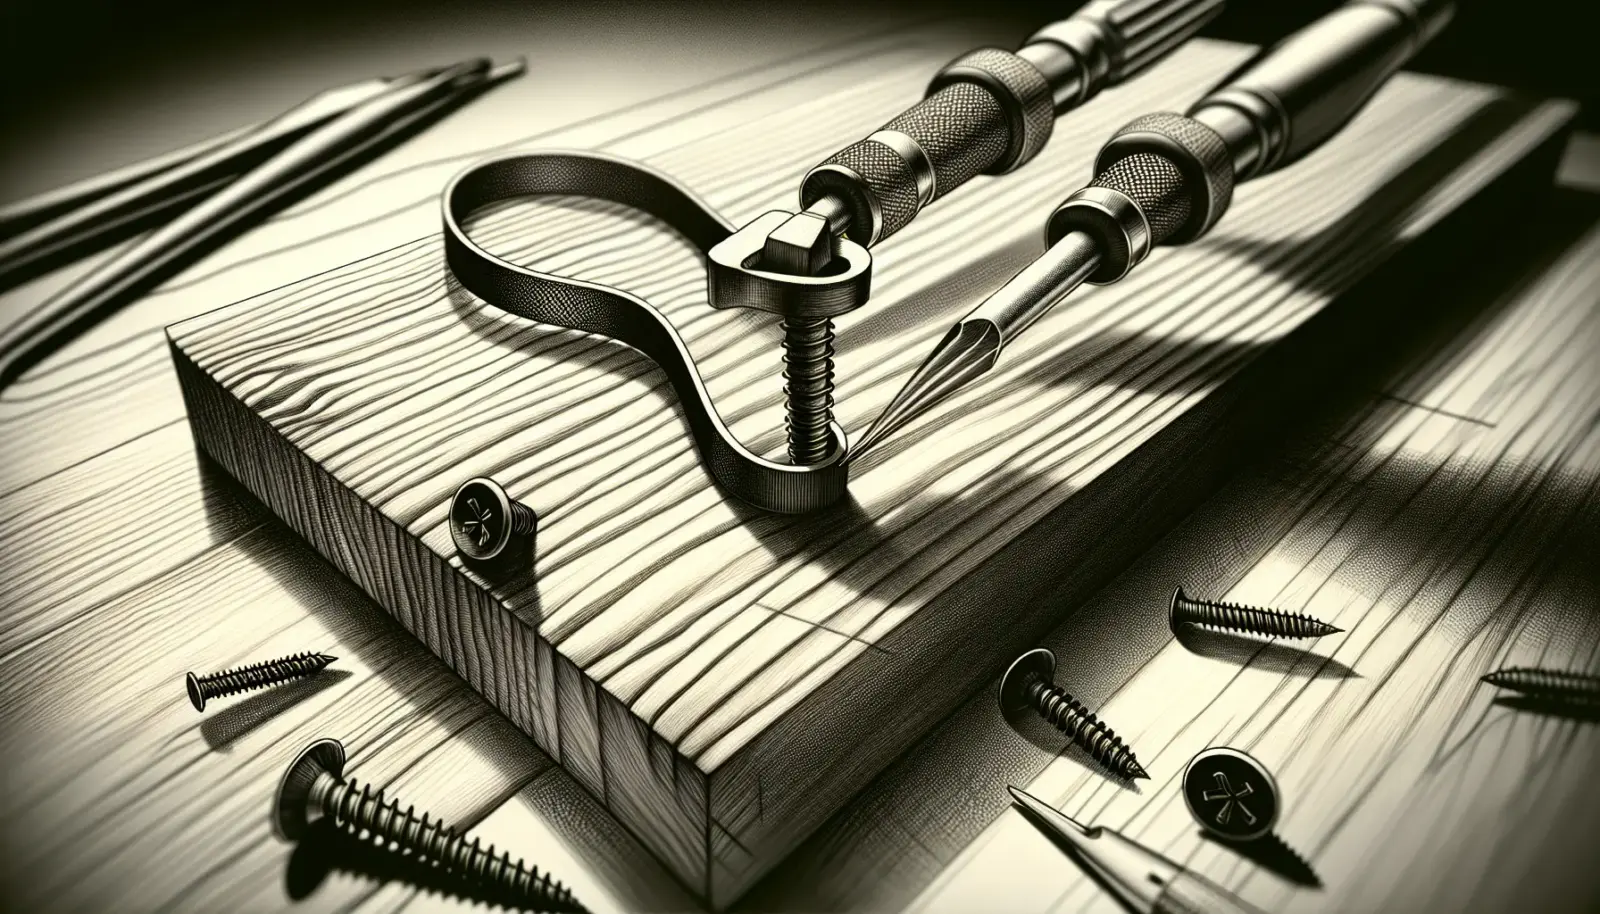
I have seen more rounded screw heads than I care to admit. Entropy is relentless, but so am I. If you are asking how to remove a stripped screw, here is the practical, physics-backed approach I use, ordered from gentle nudges to surgical extraction. Minimal drama, maximum torque.

Tools I keep within reach
- Fresh, correct-size driver bits and a manual screwdriver
- Wide rubber band or a bit of abrasive paste
- Penetrating oil
- Locking pliers
- Rotary tool with a thin cutoff wheel
- Center punch and hammer
- Left-handed drill bits
- Screw extractor kit
- Standard drill bits and tap set for last-resort repairs
Step 1: Diagnose the damage
I inspect the head style, material, and how much head is exposed. Wood screws embedded in soft pine behave differently from machine screws sunk in aluminum. If the driver bit rocks in the recess, the head is rounded enough to require grip enhancement. If any shoulder of the head stands proud, mechanical leverage with pliers may win instantly.
Step 2: Increase friction first
Physics note: removal fails when static friction at the bit to screw interface is lower than the torque needed to overcome thread friction. A wide rubber band or a dab of valve grinding compound raises the effective coefficient of friction and fills voids, distributing load across more micro-contacts.
- I press a fresh, correct bit into the head through a rubber band.
- I apply slow, steady torque with a manual screwdriver, not a drill. Low RPM preserves static friction; high RPM converts it to slip and heat.
Step 3: Seat the bit with a tap
A light hammer tap while the bit sits in the recess increases normal force and can reform tiny burrs, improving engagement. The transient shock also helps break static friction along the threads. I lean into the screw to keep axial force high while turning slowly.
Step 4: Add chemistry
Penetrating oil reduces the coefficient of static friction at the threads and capillaries into the interface. I apply, wait five to ten minutes, then reattempt. Yes, patience is a tool; the universe runs on time constants.
Step 5: Leverage the head with pliers
If the head protrudes, I clamp locking pliers firmly around it and turn counterclockwise. This applies torque via a larger radius than a driver recess, which means superior torque for the same hand force. Bonus: the knurled jaws bite into the metal, converting rotational slip into linear compression and friction.
Step 6: Convert the drive type
If the recess is hopeless, I cut a single slot across the head with a cutoff wheel. Now I can use a flathead bit. By creating a straight-wall groove, I increase contact area and reduce the cam-out tendency of cross recesses. I keep the slot centered to avoid weakening the shank.
Step 7: Heat or cold, but controlled
Thermal expansion is my friend. On metal assemblies, I warm the screw head with a soldering iron for 30 to 60 seconds. The screw expands slightly, crushes corrosion crystals, and on cooling leaves micro-clearances. On plastics or delicate finishes, I skip heat and try a brief blast of cold spray on the screw only. Differential expansion reduces interference fit. I retry with axial pressure and slow torque.
Step 8: Left-handed drill bit
A left-handed bit, run in reverse, both drills and applies removal torque. As the bit bites, it produces counterclockwise torque that may walk the screw out before I reach full diameter. Physics: cutting forces generate a tangential component opposite the normal driving direction, which is exactly the direction we want.
Step 9: Screw extractor, used correctly
I center punch the head, pre-drill a pilot hole, then use a matched extractor at low speed. Tapered, reverse flutes convert axial force into radial pressure, increasing normal force and friction as torque rises. I avoid over-torquing; exceeding the shear strength of the extractor results in a hardened steel monument to regret.
Step 10: Drill out and repair threads
Last resort: I drill down the screw shank to minor diameter, freeing the threads. I chase the threads with a tap or install a thread repair insert. Yes, we sacrificed the screw. Consider it a donation to the entropy fund.
Safety and small optimizations
- Always match bit type and size; a perfect fit maximizes contact area and reduces cam-out.
- Maintain axial pressure to keep forces aligned and prevent the bit from riding up the ramp of the recess.
- Protect surfaces with masking tape and use eye protection when cutting or drilling.
That is how I remove a stripped screw without theatrics. Precise force, controlled friction, and a little mechanical empathy. The screw wanted to stay. We gave it compelling reasons to leave.
