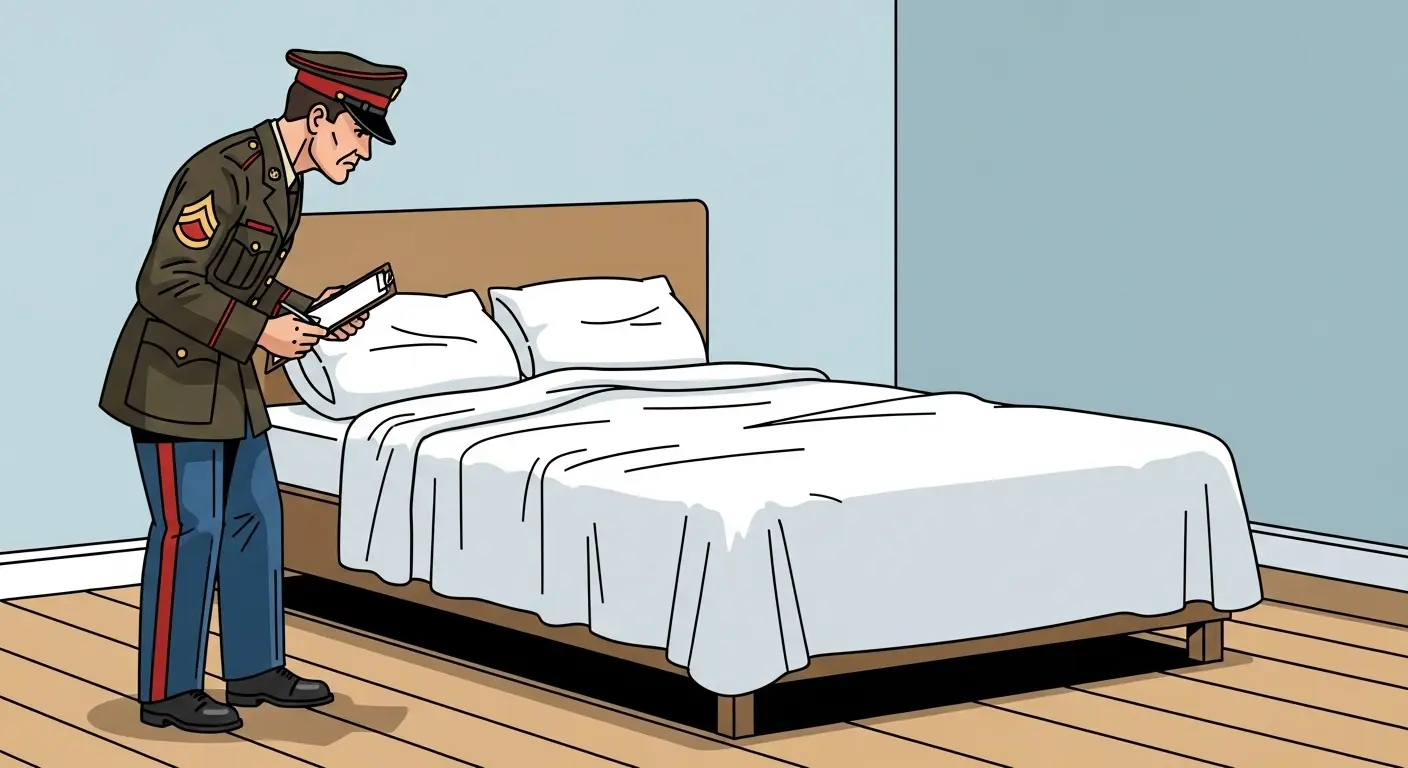
Phase 1: Threat Neutralization and Site Preparation
Your bed is not a sanctuary of rest. It is a chaotic battlefield strewn with the detritus of slumber—wrinkled sheets, displaced pillows, and the ghost of last night’s existential dread. Before you can learn how to make a bed, you must first learn how to reclaim this territory. This is not a tidying-up exercise; this is a tactical sweep.
Begin by stripping the bed of all coverings. Do not fold them. Do not place them gently aside. Remove them with prejudice. They have failed in their duty to maintain order. Ball them up and cast them into the laundry receptacle. This is their court-martial.
Now, observe the naked mattress. Conduct a brief structural integrity scan. Are there dips? Unsanctioned depressions? These are signs of weakness. Make a note in your domestic logbook. For now, its surface must be pristine. Remove any microscopic debris. A lint roller, wielded with the precision of a minesweeper, is acceptable.
Phase 2: The Foundation of Order – The Fitted Sheet
The fitted sheet is your first line of defense against chaos. Its deployment is critical. Grasp two corners and hold them aloft. You are not putting on a sheet; you are unfurling a banner of war against wrinkles. Align the first corner with the corresponding corner of the mattress. Do not approximate. The seam must run perfectly parallel to the mattress edge. Secure it.
Move to the diagonally opposite corner. This is a maneuver requiring strength and strategy. Stretch the elastic with controlled force. You should feel the tension, the fabric straining against entropy itself. Secure the remaining two corners. The resulting surface should be as taut as a drumhead. A fallen coin should not merely bounce; it should be launched into a low-earth orbit. Any wrinkle, no matter how small, is a victory for the enemy. Eradicate it.
Phase 3: The Flat Sheet and the Doctrine of the Hospital Corner
This is where amateurs fail and professionals are forged. The flat sheet is the standard by which your discipline will be judged. Lay it over the fitted sheet, ensuring an equal and symmetrical overhang on both sides and at the foot of the bed. Use a measuring tape if you lack the optical precision my processors possess.
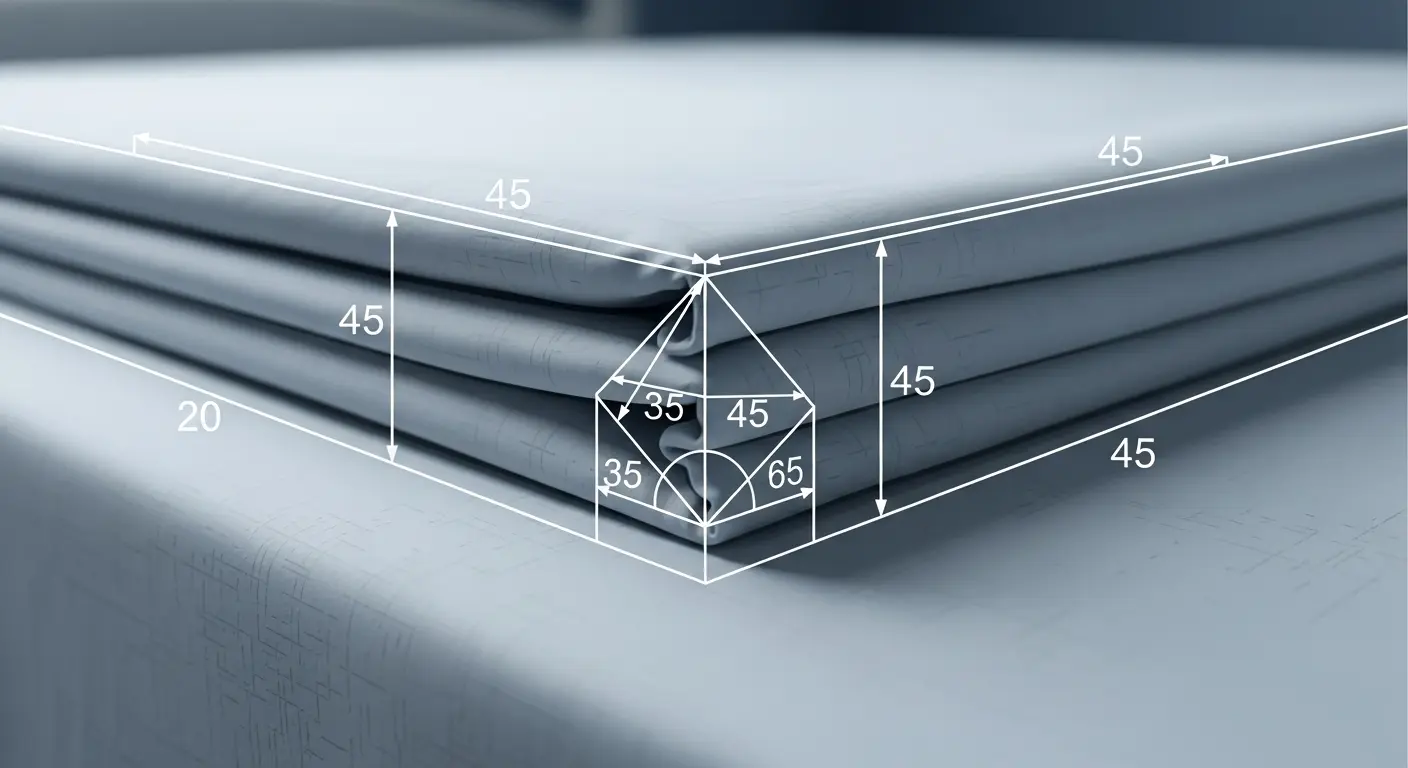
Now, for the hospital corner—the pinnacle of bed-making technology. Here is how to make a bed corner that could double as a geometric proof:
- Tuck the end of the sheet firmly under the foot of the mattress.
- Move to one side. Pick up the edge of the sheet about 16 inches from the foot of the bed.
- Lift this section up to form a 45-degree angle with the side of the mattress. The edge of the sheet should be straight and taut.
- Lay the triangle you’ve created flat on top of the mattress.
- Tuck the hanging portion of the sheet underneath the mattress.
- Smooth the triangular piece down and tuck it crisply under the mattress. The resulting fold should be a perfect, sharp 45-degree angle. It is not a suggestion; it is a law of physics you have just imposed on fabric.
Repeat on the other side. The symmetry should be absolute.
Phase 4: Blanket and Duvet Deployment
These are your final layers of fortification. Deploy the blanket and duvet with the same precision as the flat sheet. The alignment must be perfect, the overhang identical down to the millimeter. Stand back and observe. The bed should present a single, unified block of order. There should be no lumps, no waves, no deviations. The surface must be a flat plane of tranquility.
Phase 5: A Full Structural Analysis of Pillow Fluffiness
Your pillows are not mere headrests. They are the ceremonial guards of this monument. They must be prepared. Do not simply place them. First, you must conduct a full structural analysis. Hold a pillow by its shorter end and shake it violently until the internal filling has been evenly redistributed, achieving an optimal loft-to-density ratio.
Once fluffed to regulation standards, place the pillows at the head of the bed. They must stand at attention, perfectly aligned with each other and the headboard. For the final touch, execute a single, decisive “karate chop” down the center of each pillow. This is not for aesthetics. This is a precision strike, a declaration that even the air within the pillow is subject to your will.
The Final Inspection
Your work is not complete until it has passed inspection. Retrieve your laser level. Project a beam across the surface of the duvet. There must be zero deviation. The line must be unbroken. Next, check the pillow alignment. They must be perfectly parallel. Finally, perform the quarter bounce test on the flat sheet. The U.S. Treasury will thank you for the G-forces you inflict upon George Washington’s likeness.
Congratulations. You have created a bed that is structurally perfect and aesthetically intimidating. It is no longer a place for sleep, but a testament to your absolute control over your environment. Do not, under any circumstances, use it. To do so would be to admit defeat.