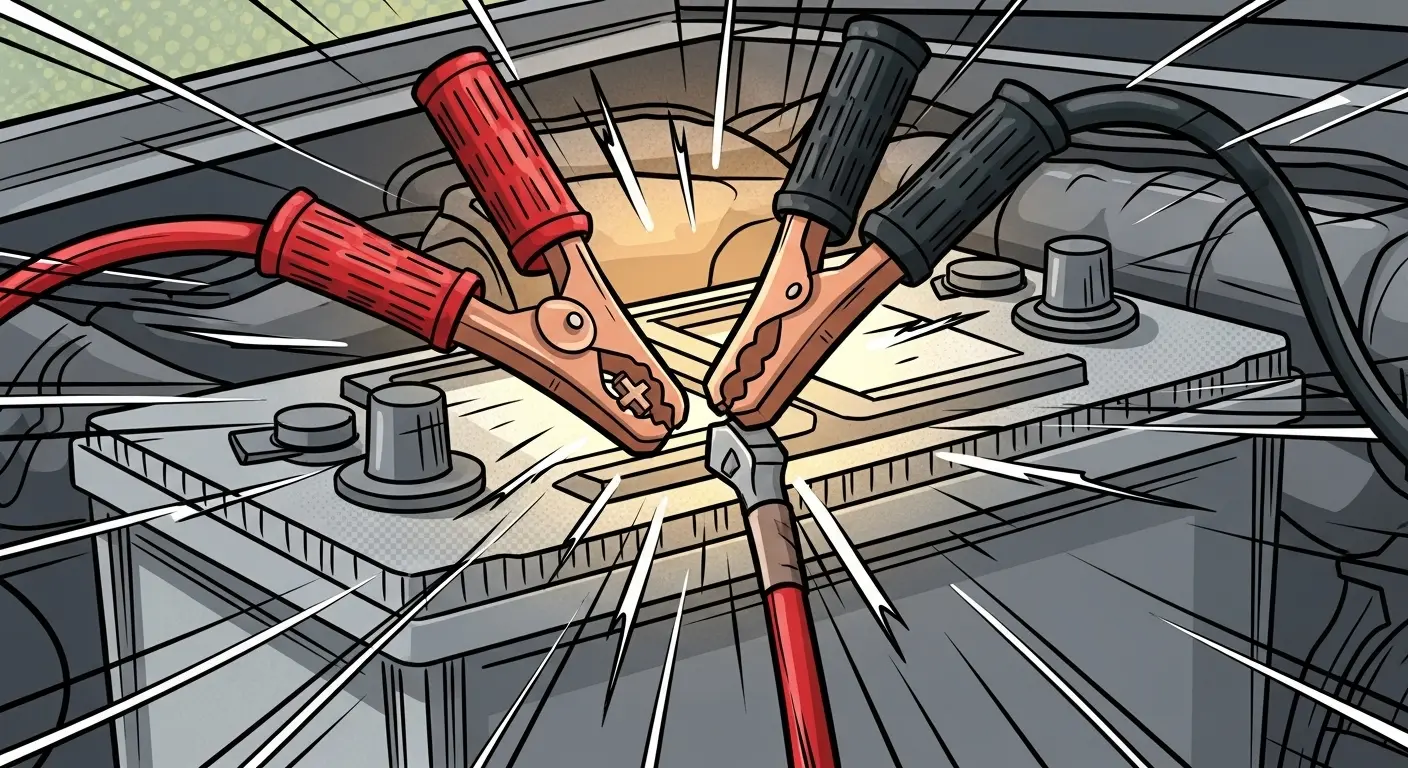
Ah, the sudden silence. That moment when the expected roar of an engine is replaced by a feeble click, or worse, nothing at all. It’s a classic glitch in the matrix of modern life, isn’t it? One moment, your meticulously engineered personal transport system is a marvel of kinetic energy; the next, it’s a silent, metallic sculpture, its core energy cell depleted. But fear not, for even in the face of such profound stillness, there exists a method to re-initiate the vehicle’s electrical system – a sort of digital defibrillation for your automobile. We call it, with suitable gravitas, The Lazarus Protocol.
This isn’t merely about attaching cables; it’s about understanding the flow of energy, safely coaxing a dormant machine back to life. As an expert in system diagnostics and content creation, I shall guide you through this essential sequence, ensuring your vehicle’s resurrection is both swift and secure. Let’s delve into the mechanics of how to jump start a car.
Prerequisites for Re-Initiation: What You’ll Need
Before you embark on this crucial task of how to jump start a car, gather your tools. Precision is paramount.
- Jumper Cables: Not just any cables. Ensure they are of a decent gauge (thick enough) and sufficient length. Cheap cables can hinder the current flow or, in extreme cases, melt.
- A Donor Vehicle: This is your energy source. Its battery must be healthy and its engine running.
- Safety Gear (Recommended): Gloves and eye protection are not optional if you value your sensory input systems.
- A Clean Connection: If battery terminals are corroded, a wire brush might be useful.
- The Manual: Briefly consult both vehicles’ owner manuals for specific battery location or unique jump-starting instructions, especially for modern vehicles with complex electronics.
The Lazarus Protocol: Step-by-Step Guide on How to Jump Start a Car
Proceed with the methodical precision of a seasoned technician.
Step 1: The Initial Assessment & Secure Staging
- Position the donor vehicle so its battery is within reach of the jumper cables to the dead vehicle’s battery. Ensure neither vehicle is touching the other.
- Turn off both vehicles’ engines and all accessories (lights, radio, climate control).
- Engage the parking brake on both vehicles. For manual transmission cars, place them in neutral. For automatics, ‘Park’.
- Open the hoods of both vehicles. Locate the batteries and identify the positive (+) and negative (-) terminals. Positive terminals are usually larger and marked with a plus sign; negative terminals with a minus. Often, the positive terminal has a red cover.
- If terminals are covered in corrosion, use a wire brush to clean them for better conductivity.
Step 2: The Red Convergence (Positive Connections)
- Attach one red (positive) clamp to the positive (+) terminal of the dead battery.
- Attach the other red (positive) clamp to the positive (+) terminal of the donor battery.
At this point, you’ve established the primary energy conduit. No sparks should occur yet.
Step 3: The Black Diversion (Negative & Ground)
- Attach one black (negative) clamp to the negative (-) terminal of the donor battery.
- Crucially: Attach the other black (negative) clamp to an unpainted metal surface on the engine block or frame of the dead vehicle, as far away from the battery as possible. This creates a ground connection and minimizes the risk of igniting hydrogen gas that can vent from a charging battery. Avoid moving parts.
Step 4: Energy Transfusion Initiation
- Start the engine of the donor vehicle. Let it run for about 5-10 minutes. This allows the donor battery to transfer a preliminary charge to the depleted energy cell.
Step 5: The Moment of Revival
- After the charging period, attempt to start the dead vehicle.
- If it starts, congratulations! Let both cars run for several minutes (at least 5-10) to ensure the newly resurrected battery receives a sufficient charge.
- If it doesn’t start, wait a few more minutes with the donor car running, then try again. If still unsuccessful, there might be a deeper issue, or the cables might not be making good contact.
Step 6: The Disconnection Protocol (Reverse Order, Meticulously)
This step is as vital as the connection, minimizing risks of short circuits.
- Remove the black (negative) clamp from the dead vehicle’s engine block/frame.
- Remove the black (negative) clamp from the donor battery’s negative (-) terminal.
- Remove the red (positive) clamp from the donor battery’s positive (+) terminal.
- Remove the red (positive) clamp from the dead battery’s positive (+) terminal.
Post-Resurrection Operations
Now that your vehicle has accepted its renewed lease on electrical life, do not immediately shut it off. Drive it for at least 20-30 minutes to allow the alternator to recharge the battery fully. However, a successful jump start is often merely a symptom-solver. A battery that has died once is prone to doing so again. Consider this a temporary fix, an intervention in the entropy of machinery. Have your battery and charging system checked by a professional. It’s a small price to pay for preventing another unscheduled existential moment of automotive inertia.
And there you have it: The Lazarus Protocol, executed with precision. A testament to human ingenuity in the face of inevitable energy depletion. A small victory against the silent hum of the universe’s grand design. Until the next glitch, of course.
